第12 屆iT邦幫忙鐵人賽系列文章 (Day21)
上一篇介紹如何主動式推播給使用者訊息,但Push Message發送到一定的量是要收費的,Line Notify是另一種主動式推播的解決方案,且是免費的,缺點就是收到訊息時候,不會顯示是從本身Chatbot的角度,而是Line的Chatbot,要發送Notify訊息,大概需要做以下事情,缺一不可
- 註冊 Line Notify 服務
- 取得 client_id
- 取得 client_secret
- 取得驗證的 code
- 透過第2-4項取得 access token
註冊 Line Notify 服務
透過 ngrok http 8888 取得一個local的對外站台,貼到 Callback URL
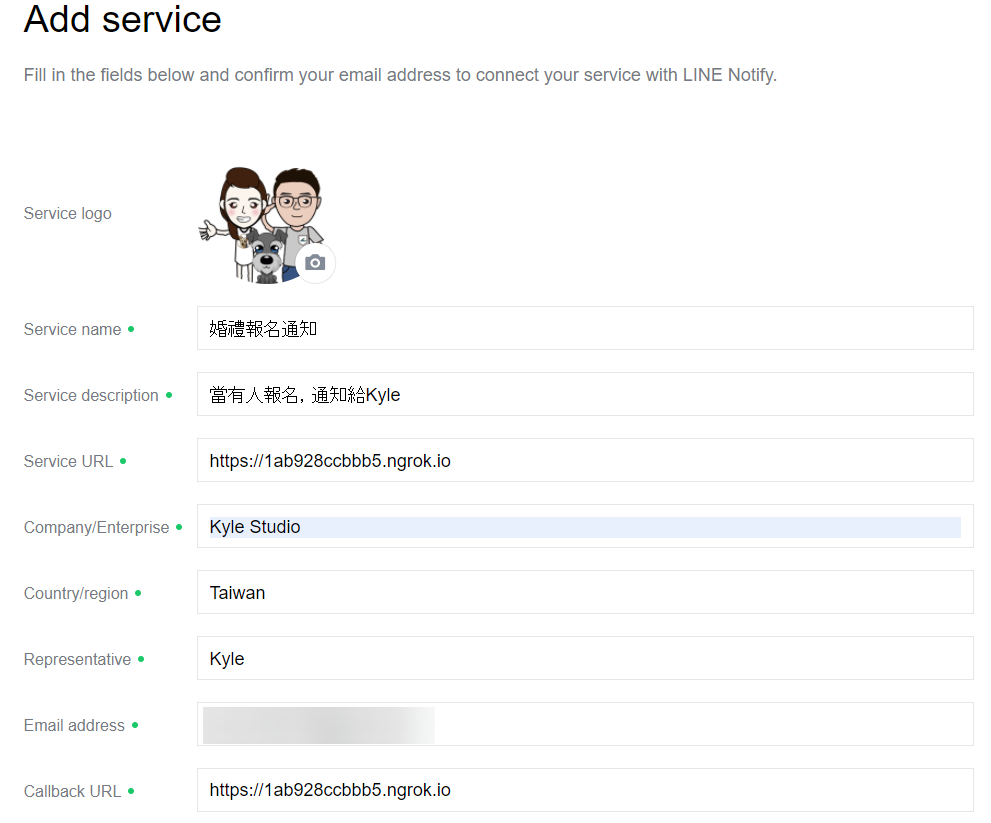
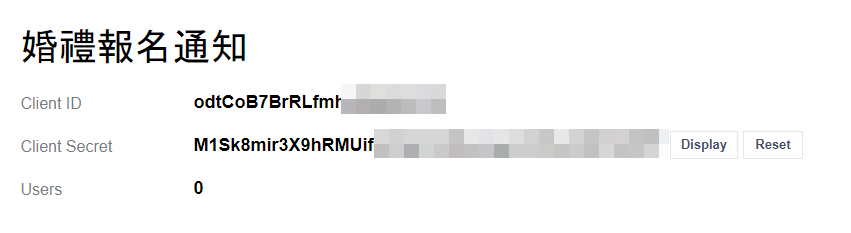
接著會驗證 Email,驗證通過後可以進到這個 Service
Client ID 跟 Client Secret 取得了
接著可以透過下列網址訂閱服務
[https://notify-bot.line.me/oauth/authorize?response_type=code&scope=notify&response_mode=form_post&client_id=](https://notify-bot.line.me/oauth/authorize?response_type=code&scope=notify&response_mode=form_post&client_id=)<client_id>&redirect_uri=<client_secret>/&state=<驗證身分代碼,任意給>
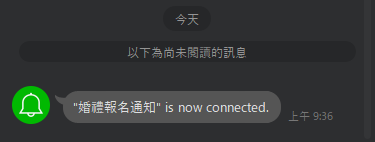
可以看到可以從這個頁面綁定

Line 會收到一個通知
到我們剛剛 ngrok 的後台看看 (http://127.0.0.1:4040),有接收到這個 Request,取得加密後的 code
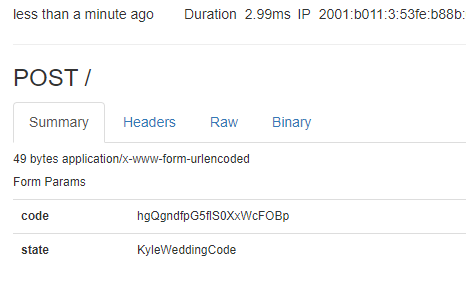
用剛剛取得的這三個資訊來取得 access token
    public static async Task<string> GetAccessToken()

    {

    using (var httpClient = new HttpClient())

    {

    using (var request = new HttpRequestMessage(new HttpMethod("POST"), "https://notify-bot.line.me/oauth/token"))

    {

    var redirect_uri = "https://f2fb2e2ee6d1.ngrok.io/";

    var client_id = "XXXXX";

    var client_secret = "XXXXX";

    var code = "XXXXX";

    request.Content = new StringContent($"grant_type=authorization_code&redirect_uri={redirect_uri}&client_id={client_id}&client_secret={client_secret}&code={code}");

    request.Content.Headers.ContentType = MediaTypeHeaderValue.Parse("application/x-www-form-urlencoded");

    var response = await httpClient.SendAsync(request);

    var results = await response.Content.ReadAsStringAsync();

    return results;

    }

    }

    }
透過 C# 發送
    public static async Task PushNotify(string accessToken, string message)

    {

    using (var httpClient = new HttpClient())

    {

    using (var request = new HttpRequestMessage(new HttpMethod("POST"), "https://notify-api.line.me/api/notify"))

    {

    request.Headers.TryAddWithoutValidation("Authorization", $"Bearer {accessToken}");

    request.Content = new StringContent($"message={message}");

    request.Content.Headers.ContentType = MediaTypeHeaderValue.Parse("application/x-www-form-urlencoded");

    var response = await httpClient.SendAsync(request);

    }

    }

    }
如何使用
實際上就能把這個程式埋在報名成功後,發送一個 Notify 訊息
var accessToken = await GetAccessToken();

await PushNotify(accessToken, $"Hi, 金城武 剛剛報名了婚禮,他當天會出席!");

懶人包,本次學到了什麼?
- 透過 Line Notify 來發送主動式推播 https://notify-bot.line.me/doc/en/